All Categories
Featured
Table of Contents
Indicators on Vermount Vertical Outdoor Infrared Heater You Need To Know
A small number of exterior heating units are fitted with incorporated home heating controls, such as a heat dimmer button or a dial to switch in between heat setups. Regardless of their name, these heating systems are usually created solely for use in indoor or protected locations.

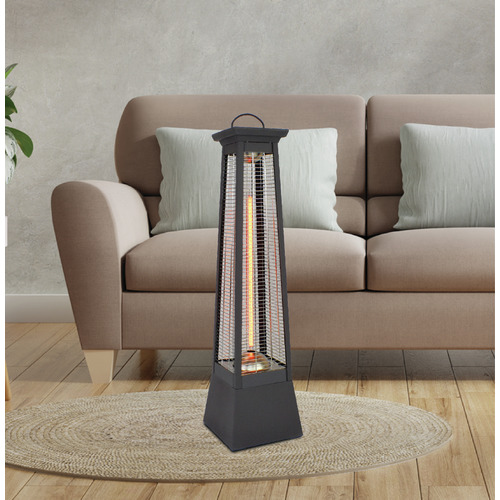
Enjoy pleasant exterior enjoyable all year long from a crisp autumn night to the chilliest of wintertime evenings. No issue how large or tiny your exterior amusing location we've got the perfect exterior location heating system to keep your guests toasty warm and keep the party going much longer.
For wall installing, the most affordable component of the heater should be located at or above a minimum elevation of 1. 8m from ground level, to ensure that the heater can not be touched when in procedure. Constantly place flat and also do not position the heating unit at an angle of more than 90 and also less than 45 The heating unit need to constantly have a minimal clearance of 0.
An Unbiased View of Outdoor Heating - Heater Strips

The heating unit has to be installed on the mounting brackets supplied. Secure the heating system firmly on the brackets making use of the nuts and screws supplied. The braces can be made use of to readjust the instructions of the heating system. Adjust the heating unit angle by loosening up the two screws on the wall installing brace. Tighten up the screws once again when the wanted angle is reached.
Table of Contents
Latest Posts
How Outdoor Heaters - Wall Mounted & Electric Outdoor Heating can Save You Time, Stress, and Money.
What's The Best 52 Hostess Gifts For Bbq Or Cookout - 2023 Host Gift Guide On The Market
Best 5 Best Small Gas Grills For A Balcony (2023 Review) Showroom Near Me in 2023
More
Latest Posts
How Outdoor Heaters - Wall Mounted & Electric Outdoor Heating can Save You Time, Stress, and Money.
What's The Best 52 Hostess Gifts For Bbq Or Cookout - 2023 Host Gift Guide On The Market
Best 5 Best Small Gas Grills For A Balcony (2023 Review) Showroom Near Me in 2023